Our Process

A Step-By-Step Guide to the Diprima Building Process

Congratulations!

You will soon be the proud owner of a luxurious home built by Brevard’s longest serving residential contractor.

Welcome to the family! We are excited to build your home and look forward to working with you on this amazing journey. We want you to enjoy the process and as we work give you the home you deserve. We’ve prepared a guide that will help you understand how the process works and where you can help it move efficiently.

Keep in mind that this process outline is just a guide as to what steps are involved and how much time they take under ideal conditions. Many variables contribute to making things happen, and anything from weather, to a delayed homeowner selection, to a busy subcontractor can affect it.

1

What You Can Do to Help

  1. Make your selections as early as possible and communicate them to our design director. All selections MUST be made prior to the tie beam inspection, which occurs about 3-½ weeks after construction starts. If any selection is not made by this time, your construction request will be delayed. In addition, some selections need to be made earlier than others in order to allow the supplier sufficient time to order hard to get items or items that come from a remote area. Your design director will provide you with a list and request of selections. Your diligence in meeting these request is the most important thing you can do to keep the construction request on time.
  2. For safety and to keep our construction manager focused on staying on request and on top of quality, we ask that you arrange site visits in advance when you will want to walk through with the superintendent and ask questions. We do four milestone walkthroughs between the construction manager and the homeowner:
    1. Pre-Construction Meeting: Introduction to your construction manager and plan review to ensure they are aware of any particular items that may not show up on the plans.
    2. Electric Walk-Through: After framing is done, we do this with you to review your electrical locations prior to sealing the walls.
    3. Construction Final: This is the final inspection of your home, during which you will develop a punch list of items that need touch up prior to closing.
    4. Final Walk-Through: During this meeting, you will walk the home with the construction manager and ensure that the punch list is complete. The construction manager will also provide you with your warranty binder, and answer any questions regarding the systems in your home and your warranties. You will be expected to sign off on the punch list that was made at your construction final and will be ready to go to closing.
2

Pre-Construction Phase

Now that the contract is signed, your next most important step is to make your selections. Shortly after contract signing, we will gather all the necessary documentation and bring it to the Building Department along with the appropriate fees and submit a request for a building permit. Permitting, engineering, and water/sewer fees are all included in the price of your home and no additional expenditure is required on your part. The building department typically takes a month to approve a permit. 

We know it’s a long time for your home construction to sit idle, but take comfort in knowing that the building department is taking the necessary time to review everything we propose to do and that it meets all of the codes that have been put in place to ensure your home is strong, safe, and durable! Once we receive the permit, we can proceed with construction, starting with the Foundation Phase.

3

Foundation Phase

  1. Lot preparation: Depending on your lot’s location, preparation varies. We’ll cut or fill your lot to reach the required elevation before compacting the soil to ensure that the pad is properly firm. A surveyor then defines the corners of the house so our foundation partner will have a guideline for properly positioning your home.
  2. Set forms: Our foundation partner will use the surveyor’s marks to install wooden forms to set the outline of the foundation for your home. They will dig trenches for the footers and level the area inside the outline to prepare for your underground utilities.
  3. Rough plumbing: The plumbers dig trenches and set your underground utilities. An inspection will be requested and performed by building department inspectors. Once it passes inspection, the construction will move to the next step.
  4. Termite pre-treat: A termite preventative chemical pre-treatment will be sprayed on the foundation area. A certificate will be provided to you showing that the home has been treated, and you will receive a renewable termite bond and termite insurance.
  5. Slab prep: The foundation partner will return to finish the foundation preparation prior to pouring concrete. They will lay a thick plastic barrier over the soil and place the necessary rebar.
  6. Slab inspection: Building department inspectors will ensure the slab meets all of the applicable building codes.
  7. Slab pour: Our concrete partner will pour the concrete to form your slab over the previously prepared foundation area inside the wooden forms. They will remove the forms once the concrete has hardened enough to retain its shape.
  8. Foundation survey: Our surveyor will return to record the exact location of your foundation and verify finished floor elevations are correct. On this day our grading partner will also return and touch up the grade around the finished slab.
4

Rough Framing Phase

  1. Block walls: The exterior walls of your DiPrima home are built of concrete block. After the slab cures, the block supplier delivers and sets several pallets.Block masons arrive shortly after and begin their work. Rebar is installed on specific block columns and tied into the foundation. Holes are punched into lower blocks in these columns, allowing the inspector to view the ties. After inspection, concrete is pumped into the blocks to form a solid cage around the house.
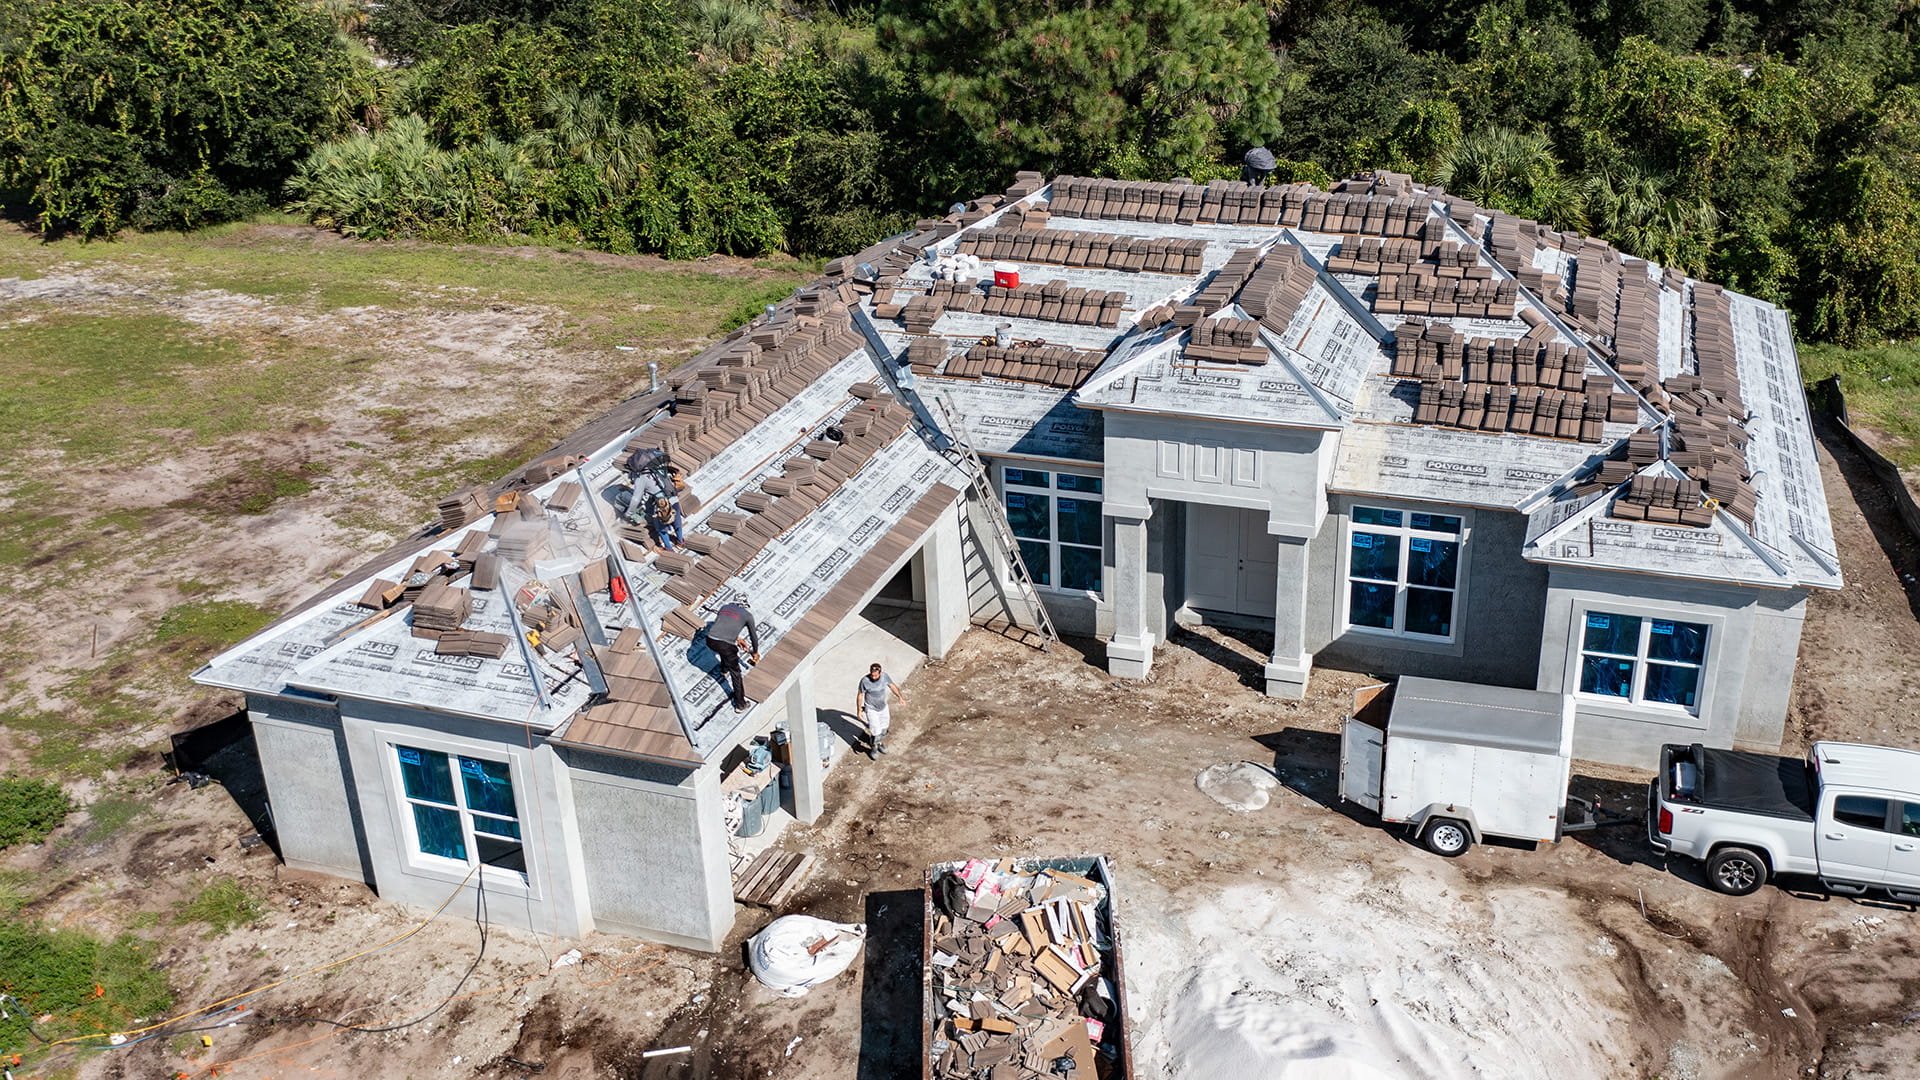
  2. Roof: Once the block walls are built, the trusses will be set and your roof will be covered with plywood. The framer will then complete all of the interior walls and any wooden exterior structures such as bay windows. The building inspector checks the sheathing, roof underlayment, and uplift.
  3. Doors and Windows: Exterior doors and windows are often installed shortly after, or during, the framing phase.
5

Finish Shell and "MEP" Phase

MEP stands for mechanical, electrical, and plumbing. This is the time when the HVAC ducts are installed, electricians run their wires, the plumbers run the piping, and other trades install anything that will go inside the walls: ethernet, cable, pest defense, central vacuum, alarm wiring, home theater wiring, camera wires, roof duct vents, and more. Bath tubs are installed at this time when it’s easier to maneuver around unfinished walls without doors.

The rough MEPs and the framing are inspected. Insulation is installed and inspected. Drywall is hung, textured, and inspected.

6

Trim Phase

Interior painting is completed after drywall is finished. During this phase stucco is applied, cured, and painted, followed by decorative exterior surfaces such as decorative stone or brick. Garage doors and soffits are installed. Soffits act as air intakes for your attic, while the off-ridge vents allow air to escape, creating fresh air circulation inside your attic to cool it down.

Interior doors, casings, baseboards, window sills, and crown molding are installed. After completing this, a rough clean is done to get rid of the debris and the majority of the construction dirt.

Tile floors and cabinets are installed, followed by countertops and finish plumbing, which is when all of your faucets go in. Appliances are delivered and installed at this time.

The driveway, entry, and patio receive their pavers. Bathroom mirrors and shower enclosures go in, and the MEPs finish their trim:

  • Light fixtures
  • Outlet covers
  • Alarm system

Final inspections on MEP are completed.

7

Final Phase

Your home is almost finished! The lot is graded once more to create a gentle slope away from your home. The superintendents will do a final punch for drywall and paint, while also testing the equipment and fixtures. Landscapers install irrigation, sod, and planters.

We complete a pre-walk and identify any items that need one final tweak. Once over, we do a final and thorough clean, and go over your final walk-through and orientation to review your home’s features, warranties, maintenance responsibilities, and how to operate your home systems.

Congratulations!

You are now ready to close and move into your new DiPrima home!

Skip to content