Can you really see a custom home start to come together before the final trim, cabinets, and decor show up? Yes — once you hit the finishes stage, everything shifts from “construction site” to “this is going to be a house,” fast. In this Lansing Island build update, DiPrima Custom Homes moves from passed inspections into drywall, exterior stucco and farmhouse-style siding details, primer and paint phases, HVAC and electrical trim, garage doors, a stone fireplace focal point, and the start of tile work in wet areas — all the building blocks that make the home feel real.
Welcome Back to Lansing Island: We’re in the Finishes Stage
This is the moment in a build where the house stops feeling like a framework and starts feeling like a place you can picture living in. After passing inspections in the previous update, the schedule moves right into the work that shapes the surfaces and brings the design choices to life — inside and out.
Drywall Goes Up: Walls and Ceilings Start Defining the Space
Once inspections were passed, drywall was scheduled and crews began hanging boards. This home uses 1/2-inch drywall on both the walls and the ceilings. With the boards screwed in place, edges are finished using vinyl corner bead.
Corner detail is one of those little choices that quietly affects the look of every room. In this project, square corners are used on windows and doors, while the homeowners selected rounded corners in other areas.
Level 5 Walls: The “Almost Perfectly Smooth” Finish
After hanging drywall, the finishing process starts. Joint compound is applied across seams, joint tape is rolled into the seams, and then another layer of compound is applied. Screw heads are also covered with joint compound.
This home has a Level 5 finish on the walls, which means the walls are brought to an almost perfectly smooth look. That requires a skim coat of compound rolled across the walls and sanded down to achieve that refined finish.
Knockdown Ceilings: A Heavier Texture Up Top
While the walls are finished smooth, the ceilings take a different approach. A knockdown texture is applied to the ceilings, creating a heavier pattern than the wall finish. It’s a clear contrast: smooth walls for a clean look, and a textured ceiling finish overhead.
Exterior Stucco: Three Layers and a Final Texture Coat
Outside, the home gets its exterior stucco — a cement-based plaster used for exterior siding. The stucco is applied in three layers, with the final coat serving as the texture. And because timing matters, the stucco is allowed to cure before it receives paint.
No Reclaimed Water: Drilling a Well for Irrigation
Not every build detail is visual — some are purely practical. Without access to reclaimed water, a well was drilled for irrigation, ensuring there’s a workable solution for watering needs.
Primer and Paint: Progress Now, Final Color Later
Back inside, the painter applies a tinted primer to the walls and completely paints the ceilings. The interior walls are set up now, but they’ll be finalized later toward the end of construction. It’s a staged approach that keeps the project moving while protecting the final finish work for the right time.
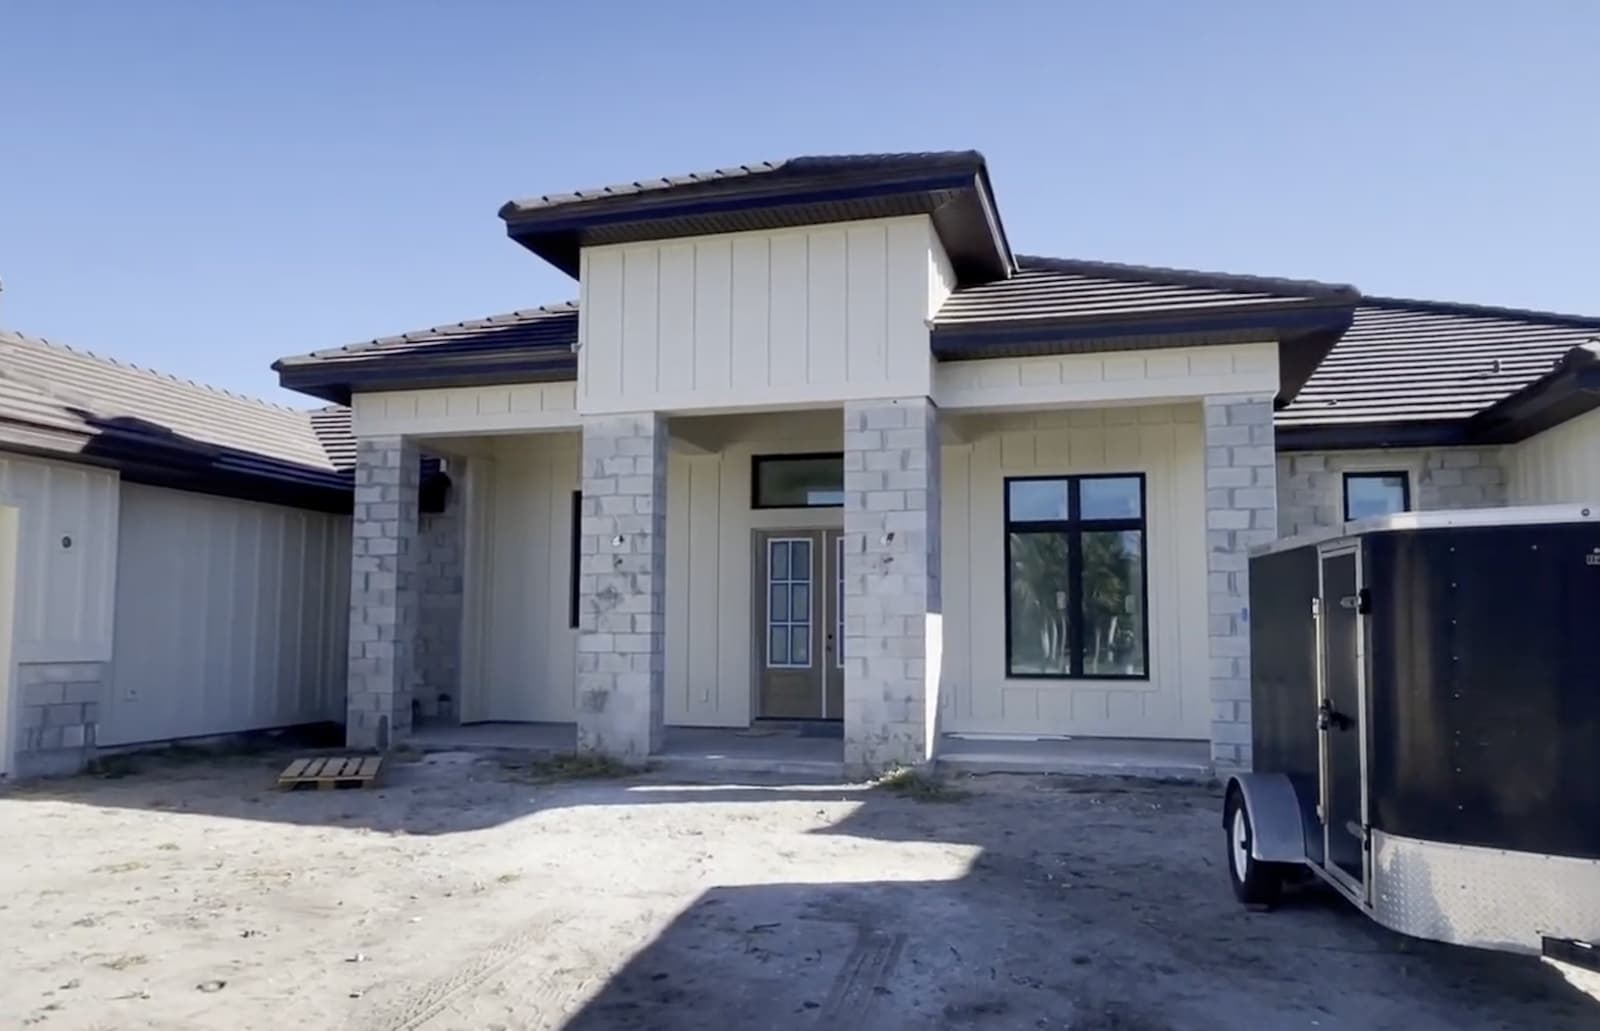
Farmhouse Front Elevation: Board-and-Batten With Hardie and Tyvek
To match a farmhouse aesthetic, the front elevation gets a board-and-batten look. The process is straightforward but layered:
Furring strips are nailed to the block, Hardie boards are installed over the strips, and seams are concealed using batten strips (the skinny pieces of Hardie). Hardie is a fiber cement siding product, and beneath it all sits Tyvek, a water-resistant barrier used for weatherproofing.
Exterior Painting: The Detail Work That Makes It Look Finished
Once that siding system is in place, the painter returns to work on the exterior. Hardie board requires a lot of caulking and close attention to detail — the kind of work that doesn’t look glamorous while it’s happening, but makes a big difference once everything is painted and crisp.
HVAC and Trim-Out: The House Starts Acting Like a House
After the first major painting phase, the project moves into HVAC equipment and trim work. This includes installing air handlers, along with supply and return grills (seen on the ceilings), and setting the condensers outside on the AC pad. This home has two condensers, both located outside.
Electrical Finish Work and Inspection: Power Gets Closer
Electricians install switches, outlets, and recessed lights. They also install the meter main and an automatic transfer switch for the generator. Once electrical work is inspected and passes, the power company releases the meter.
Fascia and Garage Doors: Exterior Details Lock In
Around the home, a brown vinyl soffit and aluminum fascia are installed. The garage doors go in as well — impact resistant and insulated, which is a functional upgrade that also makes the garage feel more complete immediately.
Fireplace Stonework: The Great Room’s Focal Point Takes Shape
Inside the great room, the stonemason begins adhering stone to the cement board around the fireplace. The process is described as an art — blending stones together takes a creative touch. In this home, the gas fireplace and surrounding stone serve as a major focal point of the interior.
Tile in Wet Areas: Bathrooms and Showers Come First
With the surfaces prepped, tile begins in wet areas like bathrooms. After preparing the slab, installers apply thinset mortar to the floor and the tile, then level everything using a spacer and wedge system. Once grout is applied, the floors are covered with paper for protection.
In showers, waterproofing is rolled onto the shower backer board before tiles are adhered to the walls. After wall tile is completed, installers build up a shower pan with mortar and install shower floor tile. Everything is grouted, completing the bulk of the tile work.
Other flooring is still ahead — wood floors and carpet will be installed in the remaining areas of the home.
What’s Next: Cabinets, Countertops, Trim, and More
This finishes-stage update ends right before some of the biggest visual milestones arrive. In the next phase, the build moves into cabinets, countertops, trim, and more — the details that turn finished surfaces into finished rooms.
DiPrima Custom Homes has been building luxury since 1961, and in this stage of the Lancsing Island series, you can see exactly how that “luxury” starts to show up: in smooth Level 5 walls, a defined exterior system, careful finish work, and the kind of step-by-step progress that makes the whole home feel like it’s truly arriving.